An Animated Font Family Toggle
How to build a font family toggle with Next.js, Tailwind CSS and Framer Motion
Recently, I want to build a font family toggle to switch between monospace and sans-serif font family.
The reason
- Why using monospaced fonts?
- Fixed-width characters are lovable.
- Why is it necessary to toggle font family?
- Readers are more generally more accustomed to Sans-Serif fonts.
- Monospace fonts can be space inefficient.
There are 3 steps to implement it:
- Choose and set the desired font families.
- Toggle font family.
- Make this toggle prettier by adding some animation.
Set the font family
First, import the fonts you like using next/font.
Here I use "Inter" and "JetBrains Mono".
import { Inter as FontSans } from "next/font/google";
import { JetBrains_Mono as FontMono } from "next/font/google";
import { cn } from "@/lib/utils";

const fontSans = FontSans({
  subsets: ["latin"],
  display: "swap",
  variable: "--font-sans",
});

const fontMono = FontMono({
  subsets: ["latin"],
  display: "swap",
  variable: "--font-mono",
});
next/font can be used with Tailwind CSS through a CSS variable.
And it's easy for us of theming.
export default function RootLayout({
  children,
}: {
  children: React.ReactNode
}) {
  return (
    <html lang="en">
      <body
        className={cn(
          "{Your custom classes}",
          fontSans.variable,
          fontMono.variable
        )}
      >
        {children}
      </body>
    </html>
  );
}
Finally, add these CSS variables to the Tailwind CSS config.
import { fontFamily } from "tailwindcss/defaultTheme";

const config = {
  // ... other configs
  theme: {
    extend: {
      fontFamily: {
        sans: ["var(--font-sans)", ...fontFamily.sans],
        mono: ["var(--font-mono)", ...fontFamily.mono],
      }
    }
  }
};

export default config;
You can now use the font-sans and font-mono utility classes to apply the font to your elements.
Font Family toggle
Toggle font-family is just a dynamic style change, or you can call it theming.
Sounds familiar, right?
The well-known next/themes provides us with a great example of how to store global theme information and implement support for multiple themes.
next/themes uses a <ThemeProvider> to warp the content (examples).
It calls the API useContext of React to passing data deeply into the tree and updating data passed via context.
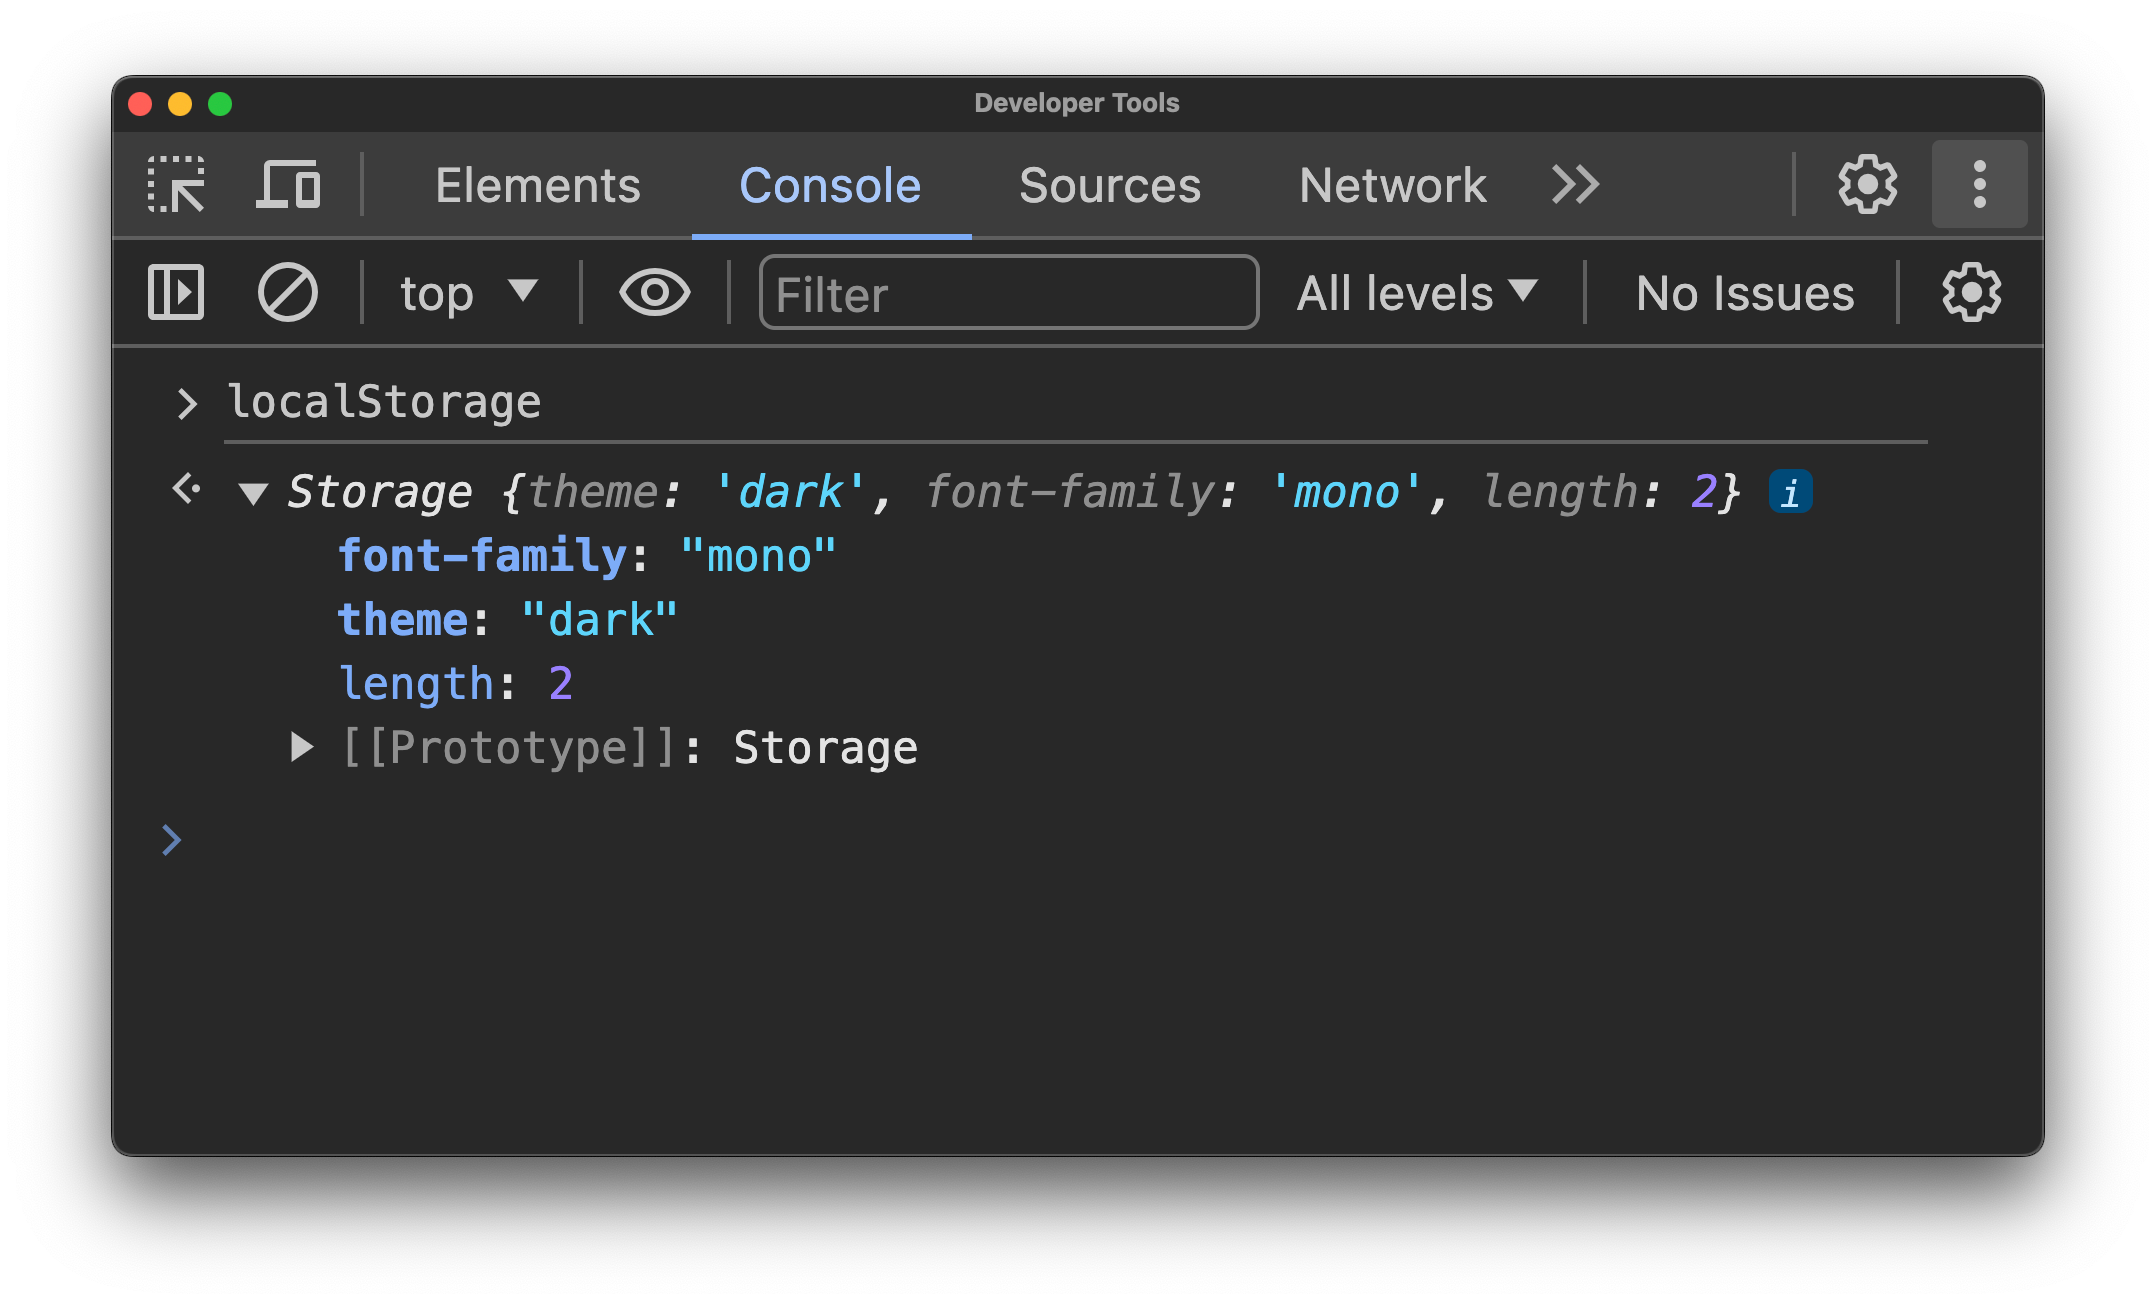
And the theme status is stored in the localStorage.
Therefore, this article also follows the next/themes in implementing font-family toggle.
import React, { Dispatch, SetStateAction } from "react";

export interface FontFamilyProps {
  // Current font family
  fontFamily?: string | undefined;
  // Update the font family
  setFontFamily: Dispatch<SetStateAction<string>>;
  // Toggle between monospace and default font family
  toggleFontFamily: () => void;
}

export interface FontFamilyProviderProps extends React.PropsWithChildren {
  // Default font family
  defaultFontFamily?: string;
  // key used to store theme setting in localStorage
  storageKey?: string;
}const FontFamilyContext = createContext<FontFamilyProps | undefined>(undefined);
export const FontFamilyProvider = (
props: FontFamilyProviderProps
): React.ReactNode => {
const context = useContext(FontFamilyContext);
// Ignore nested context providers, just passthrough children
if (context) {
return props.children;
}
return <FontFamily {...props} />;
};
const FontFamily = ({
defaultFontFamily = ffMono,
storageKey = "font-family",
children,
}: FontFamilyProviderProps) => {
// Will be introduced in the following text.
}Animation
Here we use two different interaction methods: On desktop devices, we use a button to toggle the font family; On mobile devices, we use a layout switch for toggling. This article uses framer motion to power the animation.
SVG Morphing
First, we should prepare two SVGs to indicate the font family.
Then, the next step is morphing the SVGs with Flubber.js and animating them with Framer Motion.
Here we can control the path of the SVG using pathIndex passed from the parent component.
import React, { useEffect, useState } from "react";
import { interpolate } from "flubber";
import { motion, animate, useMotionValue, useTransform } from "framer-motion";

interface SvgMorphProps {
  paths: string[];
  pathIndex: number;
}

function SvgMorph({ paths, pathIndex }: SvgMorphProps) {
  const progress = useMotionValue(pathIndex);
  const arraysOfIndexes = paths.map((_, i) => i);

  const path = useTransform(progress, arraysOfIndexes, paths, {
    mixer: (from, to) => interpolate(from, to, { maxSegmentLength: 1 }),
  });

  useEffect(() => {
    const animation = animate(progress, pathIndex, {
      duration: 0.4,
      ease: "easeInOut",
    });

    return () => animation.stop();
  }, [pathIndex, progress]);

  return <motion.path d={path} fill="currentColor" />;
}
Layout Animation
Layout animations is quite simple using Framer Motion.
<div className="relative flex-col items-center ...">
  <div className="flex flex-col h-full w-full items-center">
    <button
      onClick={() => setFontFamily("mono")}
      className={cn(LAYOUT_CLASS_NAMES, {"text-primary font-bold": fontFamily === "mono"})}
    >
      Monospace
    </button>
    <button
      onClick={() => setFontFamily("sans")}
      className={cn(LAYOUT_CLASS_NAMES, {"text-primary font-bold": fontFamily === "sans"})}
    >
      Sans-Serif
    </button>
  </div>
  <div
    className={cn("absolute inset-0 flex flex-col m-[0.2rem] -z-10", {
      "justify-start": fontFamily === "mono",
      "justify-end": fontFamily === "sans",
    })}
  >
    <motion.span
      layout
      transition={{ type: "spring", damping: 30, stiffness: 200 }}
      className="..."
    />
  </div>
</div>
Conclusion
The full code is wrapped up here: source code. And the final effect is shown as follows.
Regrettably, the font switch can cause a layout shift in some cases. And this seems to be unavoidable.